AI assistants (MCP)
Empi speaks the Model Context Protocol (MCP), so an AI assistant can read and manage your tasks and notes directly. You ask, it does the work in your workspace.
Seven clients are supported out of the box, in two groups: chat assistants (Claude, ChatGPT, Gemini, Mistral) and editors and agents (Antigravity, VS Code, Cursor). Any other MCP client works too: point it at the server URL.
Before you start
Open Settings > Integrations, find Connect your AI tools, and click + Connect Empi MCP server. That reveals the server URL and a tile for each client.
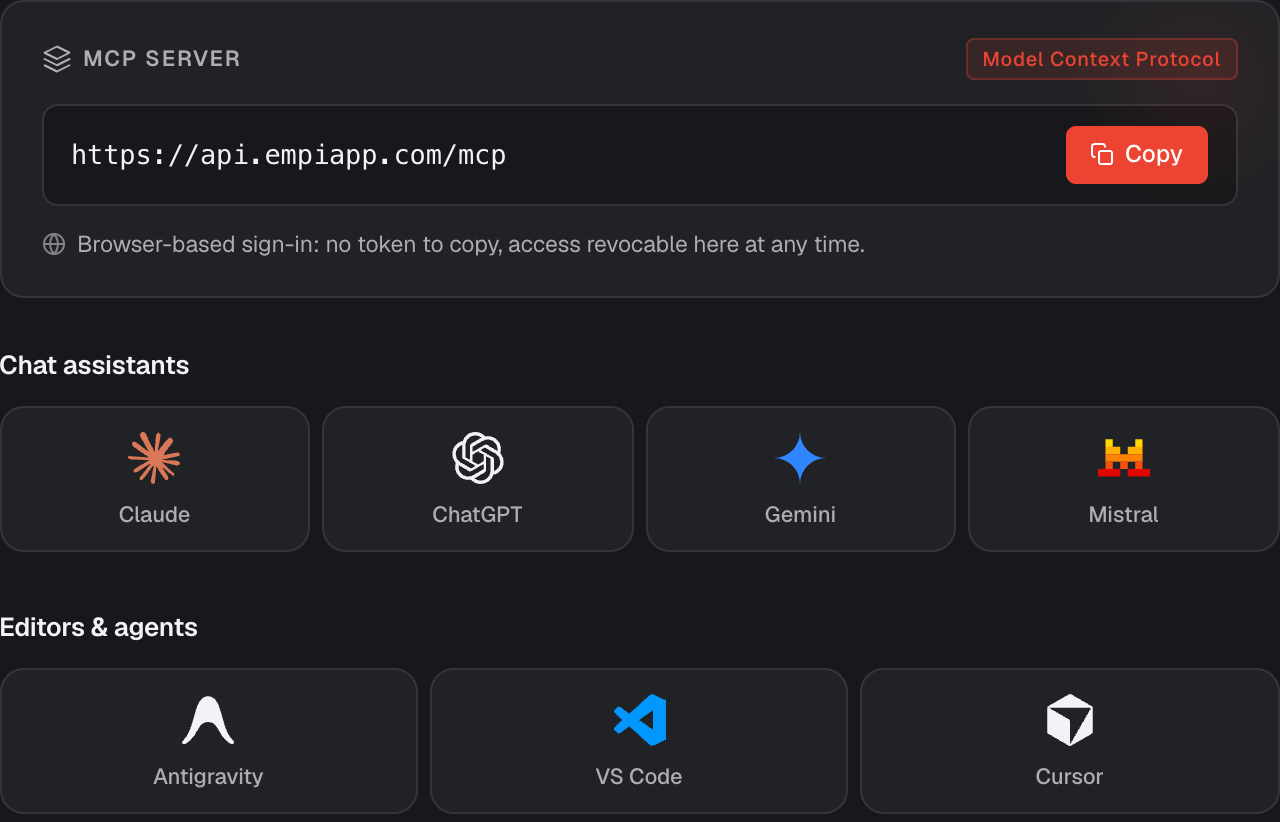
The server URL is the same for every client:
https://api.empiapp.com/mcp
In every config below, the server is registered under the name empi.
There is no token to copy
Empi never asks an AI tool for your password or an API key. Connecting opens a sign-in in your browser, where you approve the exact access on a consent screen:
- View your tasks and schedule: today plan, planner, projects, and calendar.
- Create and manage tasks: add, edit, complete, delete, and auto-plan tasks. Only asked for when the client requests write access.
Choose Allow and the tool is connected. You can revoke it at any time, see Connected tools.
Chat assistants
Claude
Works with Claude Desktop (as a custom connector) and with Claude Code in your terminal.
- In Claude Desktop: Settings, then Connectors, then Add custom connector, and paste the server URL.
-
Or use Claude Code in your terminal:
claude mcp add --transport http empi https://api.empiapp.com/mcp -
Approve the Empi sign-in on first use.
ChatGPT
Custom connectors live behind Developer mode, so you enable that first.
- Enable Developer mode in ChatGPT: Settings, then Apps, then Advanced settings.
- Open Settings, then Connectors, then Create, and paste the server URL.
- Approve the Empi sign-in to finish.
Gemini
The Gemini CLI reads its MCP servers from a settings file.
- Open
~/.gemini/settings.json. -
Add the config below, then restart the Gemini CLI.
{
  "mcpServers": {
    "empi": {
      "httpUrl": "https://api.empiapp.com/mcp"
    }
  }
}
Mistral
Empi is added as a custom connector in Le Chat.
- In Le Chat, open Connectors, then Add connector, and switch to the Custom MCP Connector tab.
- Enter a name and paste the server URL.
- Approve the Empi sign-in to finish.
Editors and agents
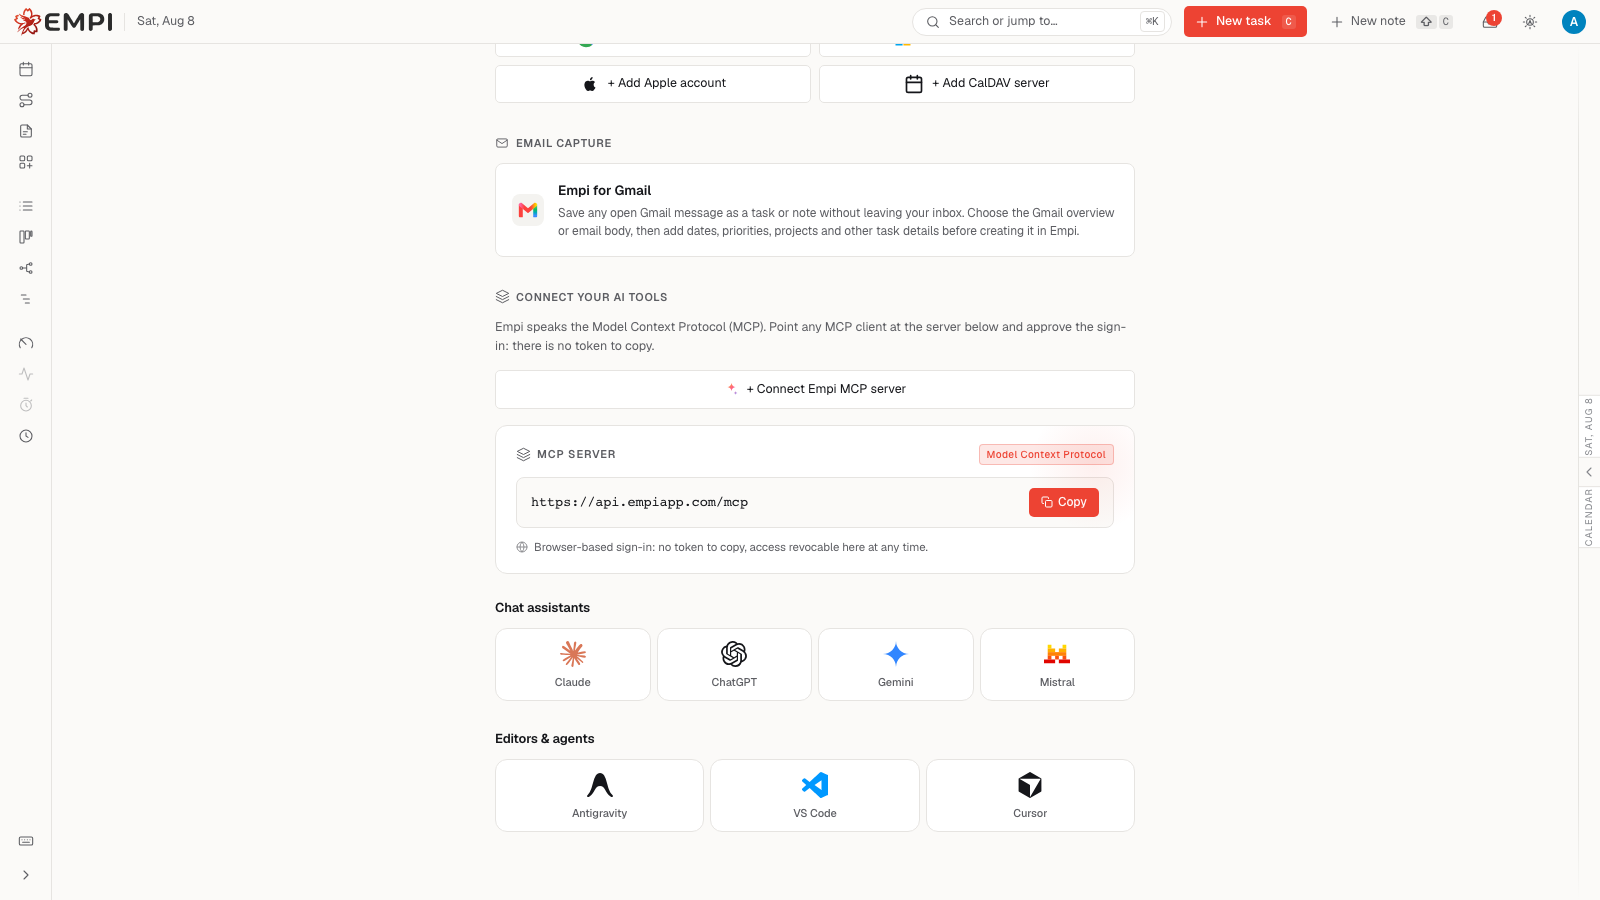
VS Code and Cursor install in one click from Empi. Antigravity is configured by hand.
Antigravity
- In the agent panel, open the ... menu, then Manage MCP Servers, then View raw config.
-
Add the config below under
mcpServers, in~/.gemini/config/mcp_config.json:{ "mcpServers": { "empi": { "serverUrl": "https://api.empiapp.com/mcp" } } } -
Save (Antigravity reloads automatically), then approve the Empi sign-in.
VS Code
- Click Add to VS Code and confirm the install.
- Approve the Empi sign-in when prompted.
Prefer to do it by hand? Add this to .vscode/mcp.json:
{
  "servers": {
    "empi": {
      "type": "http",
      "url": "https://api.empiapp.com/mcp"
    }
  }
}
Cursor
- Click Add to Cursor and confirm the install in Cursor.
- Approve the Empi sign-in when Cursor opens it.
Prefer to do it by hand? Add this to ~/.cursor/mcp.json:
{
  "mcpServers": {
    "empi": {
      "url": "https://api.empiapp.com/mcp"
    }
  }
}
Connected tools
Every connected client is listed under Connect your AI tools, with whether it has Read-only or Read & write access, the date it was connected, and when it was last used.
Click Disconnect on any of them. It loses access to your workspace immediately, and you can reconnect it later at any time.
What you can ask for
Once connected, your assistant can work with your workspace in plain language:
- Create tasks, with a due date and an estimate.
- Find tasks, and read the details of one.
- Update a task, assign it to a project, and mark it complete.
- Create, read and update your notes.
- Look at your day and at your plan, and apply a plan.
For example: "add a task to review the Q3 budget, due Friday, 2 hours, in the Finance project", or "what am I supposed to do today?".
Good to know
- MCP requests are unlimited on every plan, including Free. See Plans and billing.
- Everything an assistant does is recorded in your activity log and labelled as coming from MCP, so you can always review what it changed.
- Prefer a script over an assistant? Use a personal API token and the REST API instead.