The setup wizard
The first time you open Empi, a seven-step wizard collects what the planner needs to schedule anything: when you work, where you work from, and what already fills your calendar. Nothing here is permanent. Every setting has a home in Settings and can be changed later.
Only Time slots gates progress: you cannot continue until at least one slot has one valid weekly window. Every other step can be skipped. Steps you have completed stay clickable in the stepper, so you can go back and adjust one without starting over.
1. Welcome
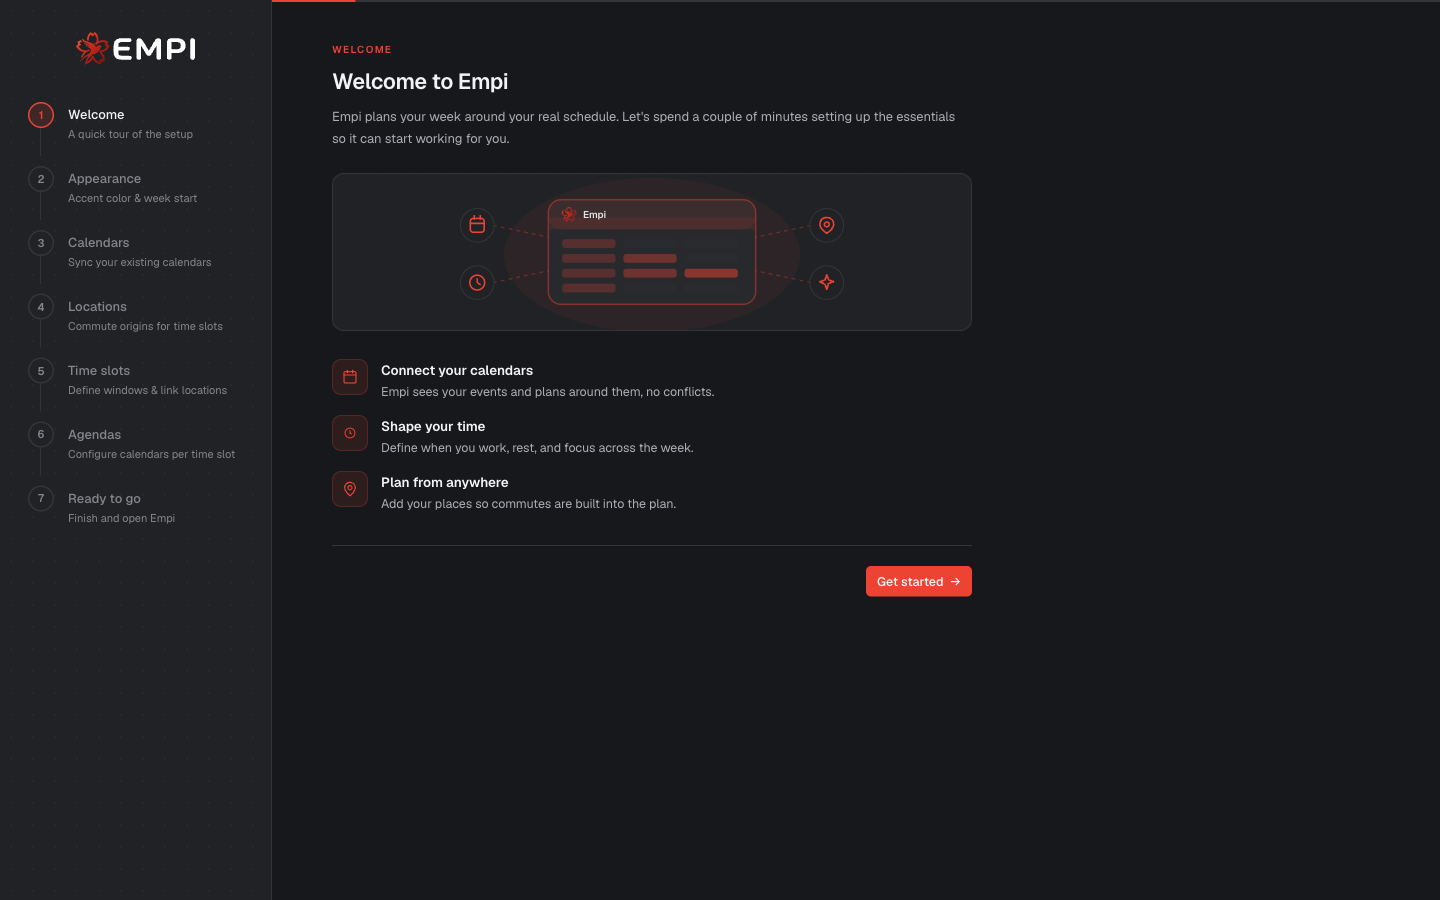
A one-screen summary of what the setup covers: connecting your calendars, shaping your time, and adding your places. Nothing to fill in. Continue.
2. Appearance
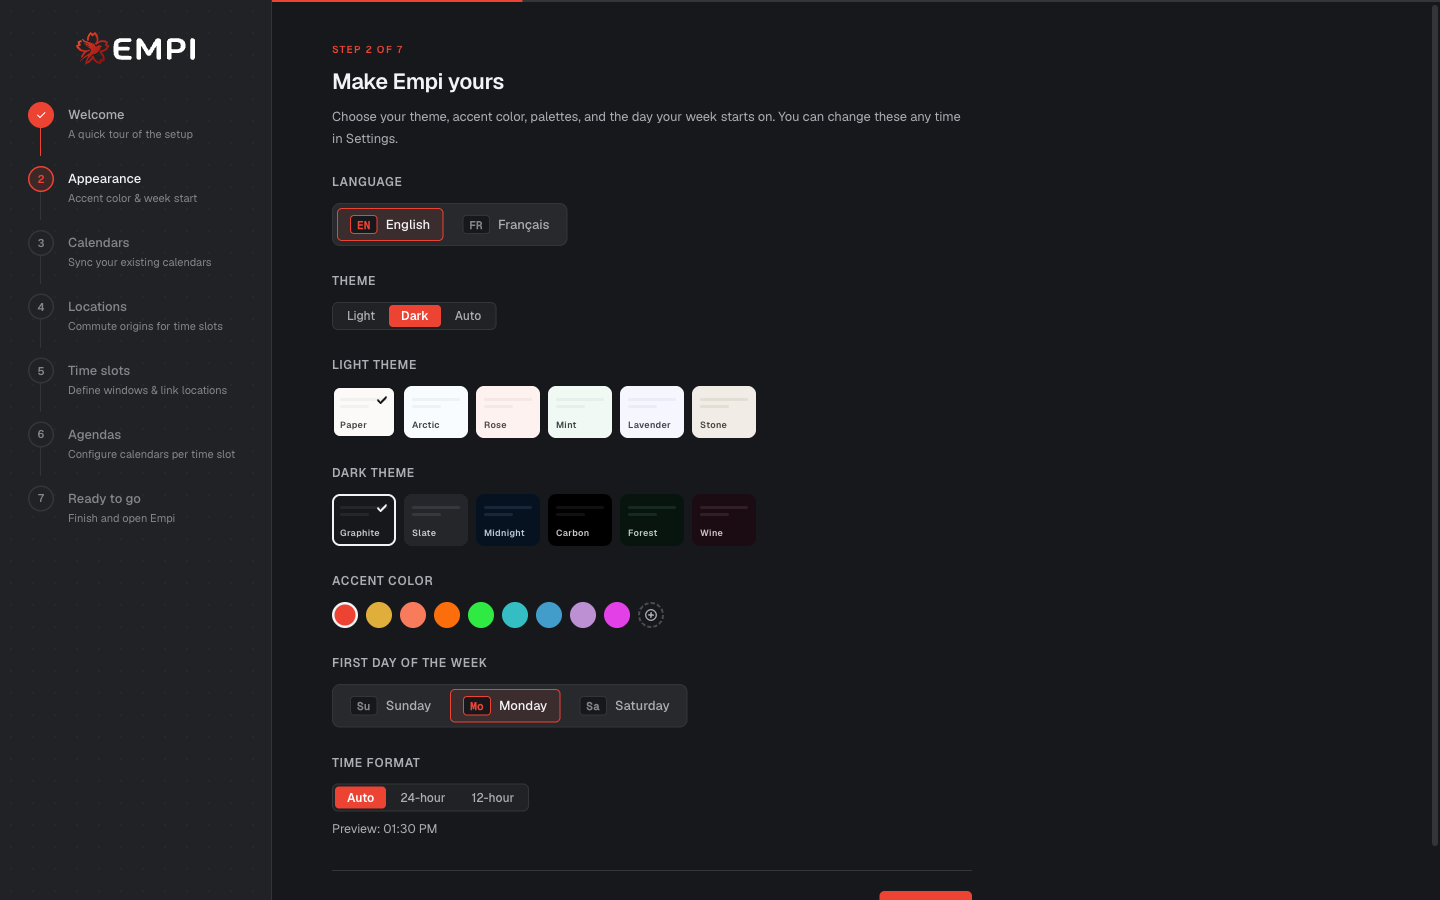
Language, theme (Light, Dark or Auto), accent color, the light and dark palettes, the first day of your week, and your time format.
The first day of the week is not cosmetic: it decides where every weekly view starts. All of this lives in Settings > General afterwards.
3. Calendars
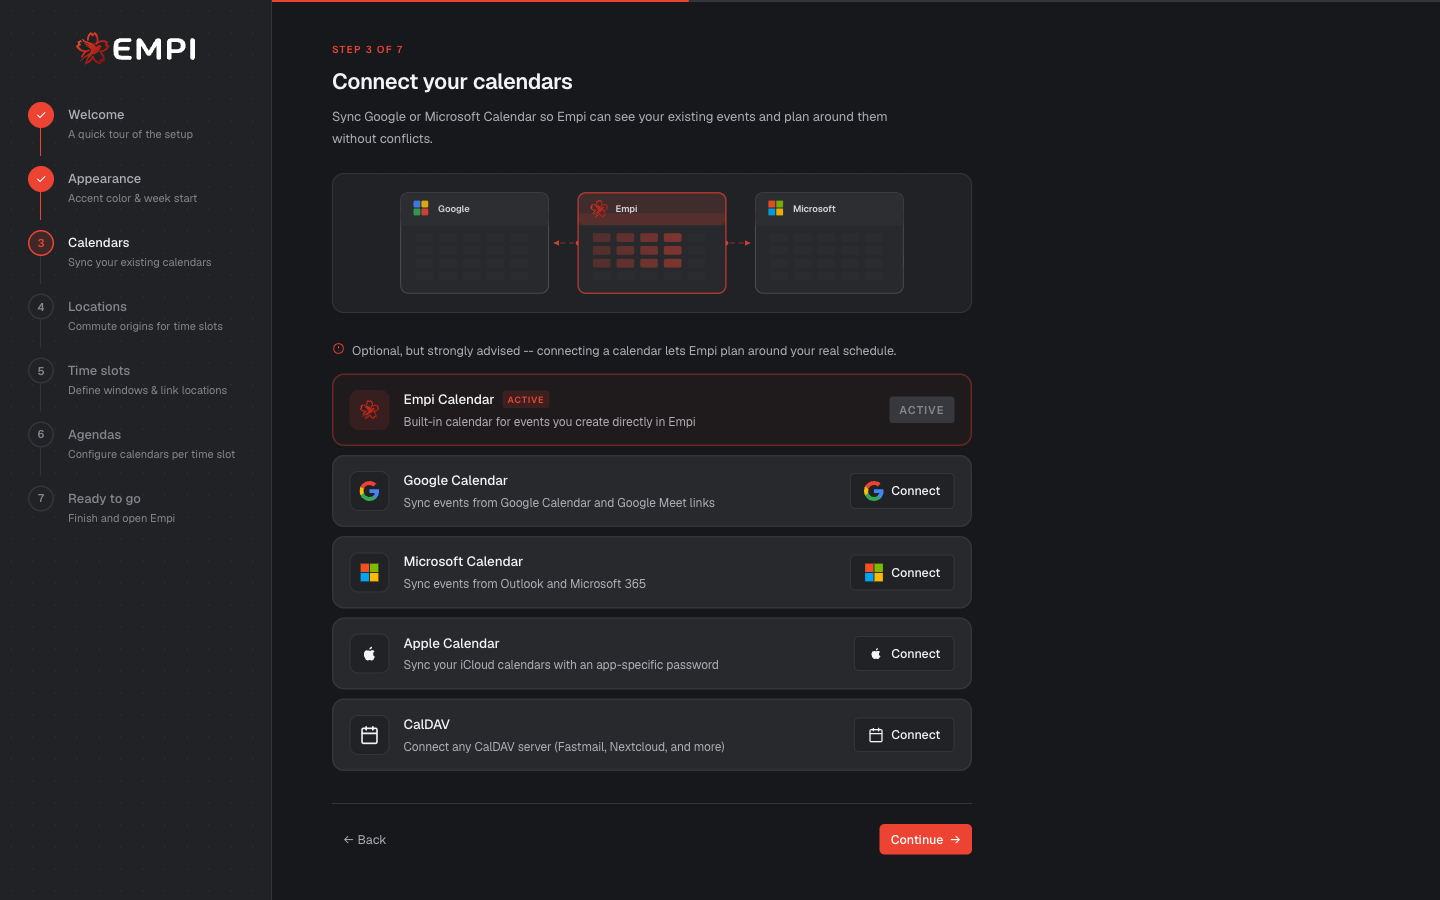
Connect the calendars you already live by: Google, Microsoft, Apple (iCloud) or any CalDAV server. Empi Calendar is built in and always active, so you can start without connecting anything.
This step is optional but strongly advised. A planner that cannot see your meetings will book focus time on top of them. Details and provider specifics: Connecting a calendar.
4. Locations
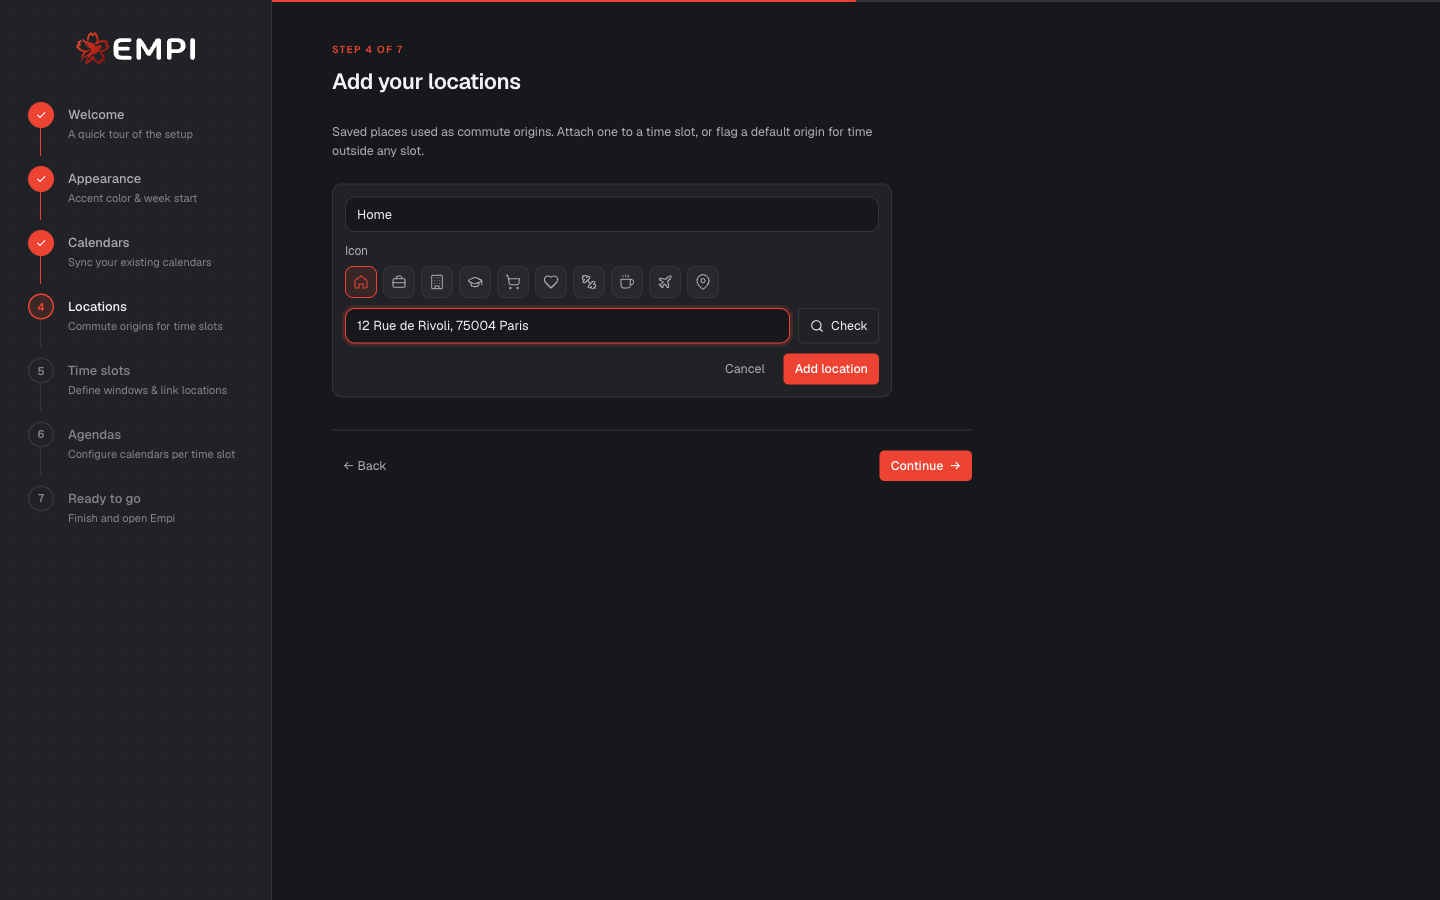
Saved places used as commute origins: home, the office, a client site. Attach one to a time slot, or flag a default origin for time that falls outside any slot.
Locations are what let Empi price the travel between two events and keep the commute out of your focus time. See Commute and travel time.
5. Time slots
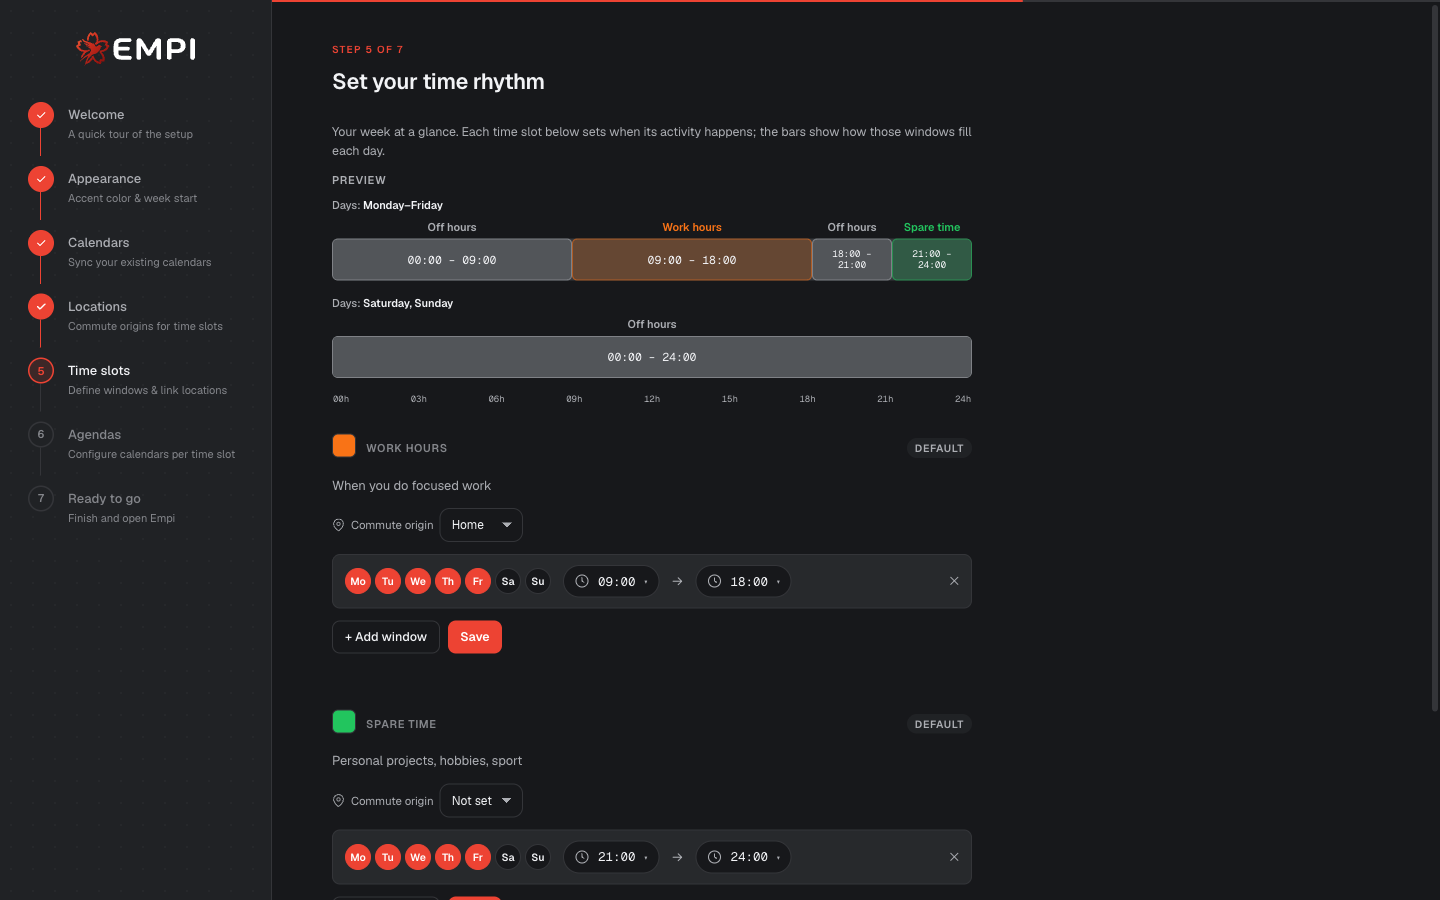
The one step you must complete. Define the weekly windows for each kind of time: Work hours, Spare time, and any slot you create yourself. Each slot can get a commute origin from the previous step.
These windows are the outer boundary of everything the planner does. It never books work outside them. Add at least one window to a slot to continue. Full detail: Working hours and focus hours.
6. Agendas
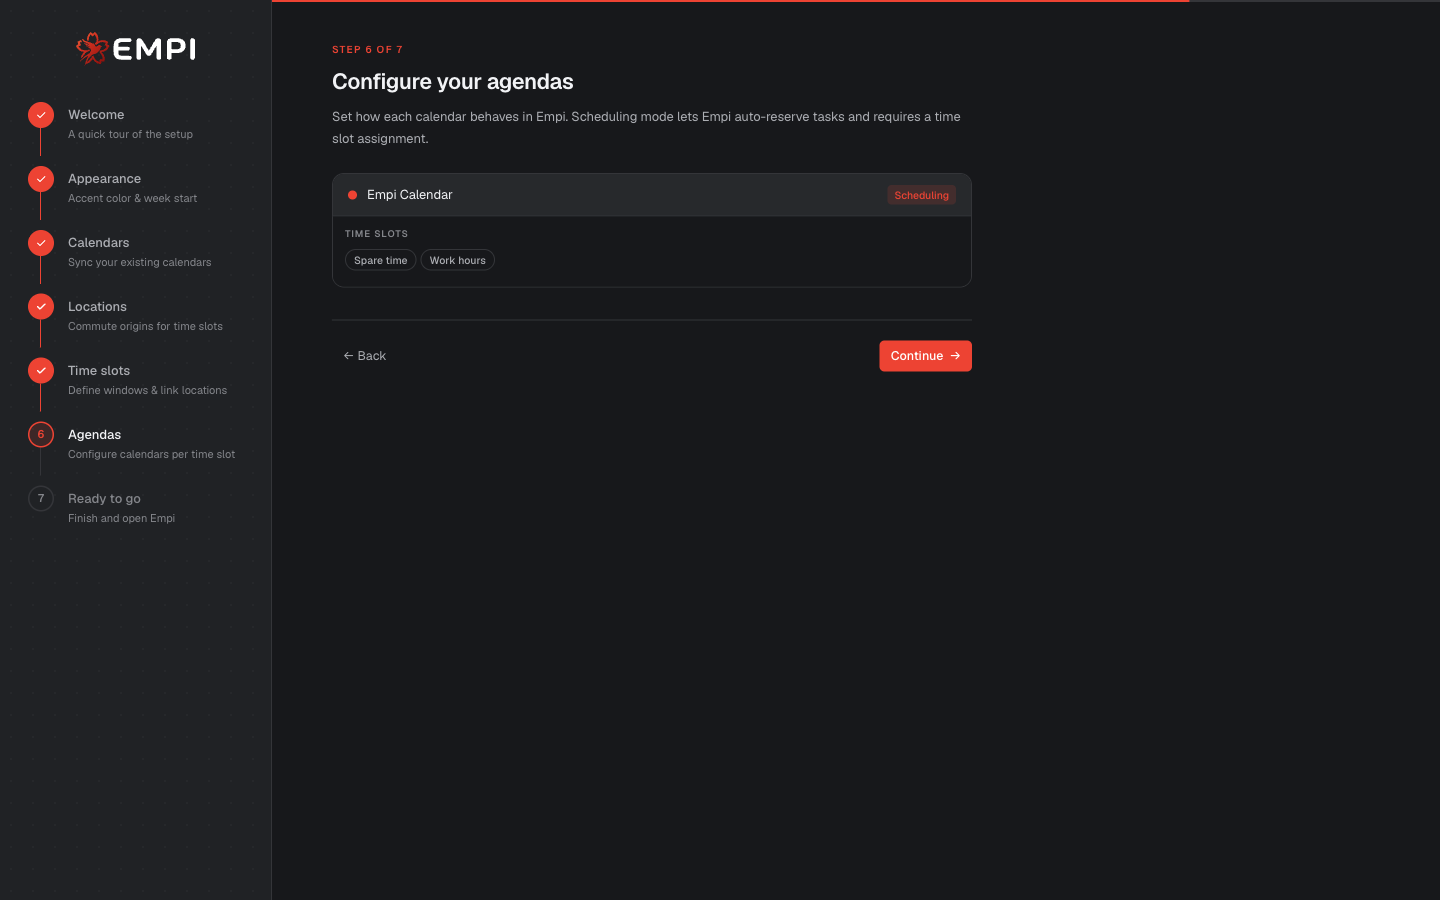
For each connected calendar, decide how it behaves in Empi. A calendar in scheduling mode is one Empi can reserve tasks into, and it needs a time slot assignment. Others simply show you as busy.
If you connected nothing in step 3, skip this: there is nothing to configure yet. The distinction matters more than it looks, so read Which agendas count.
7. Ready to go
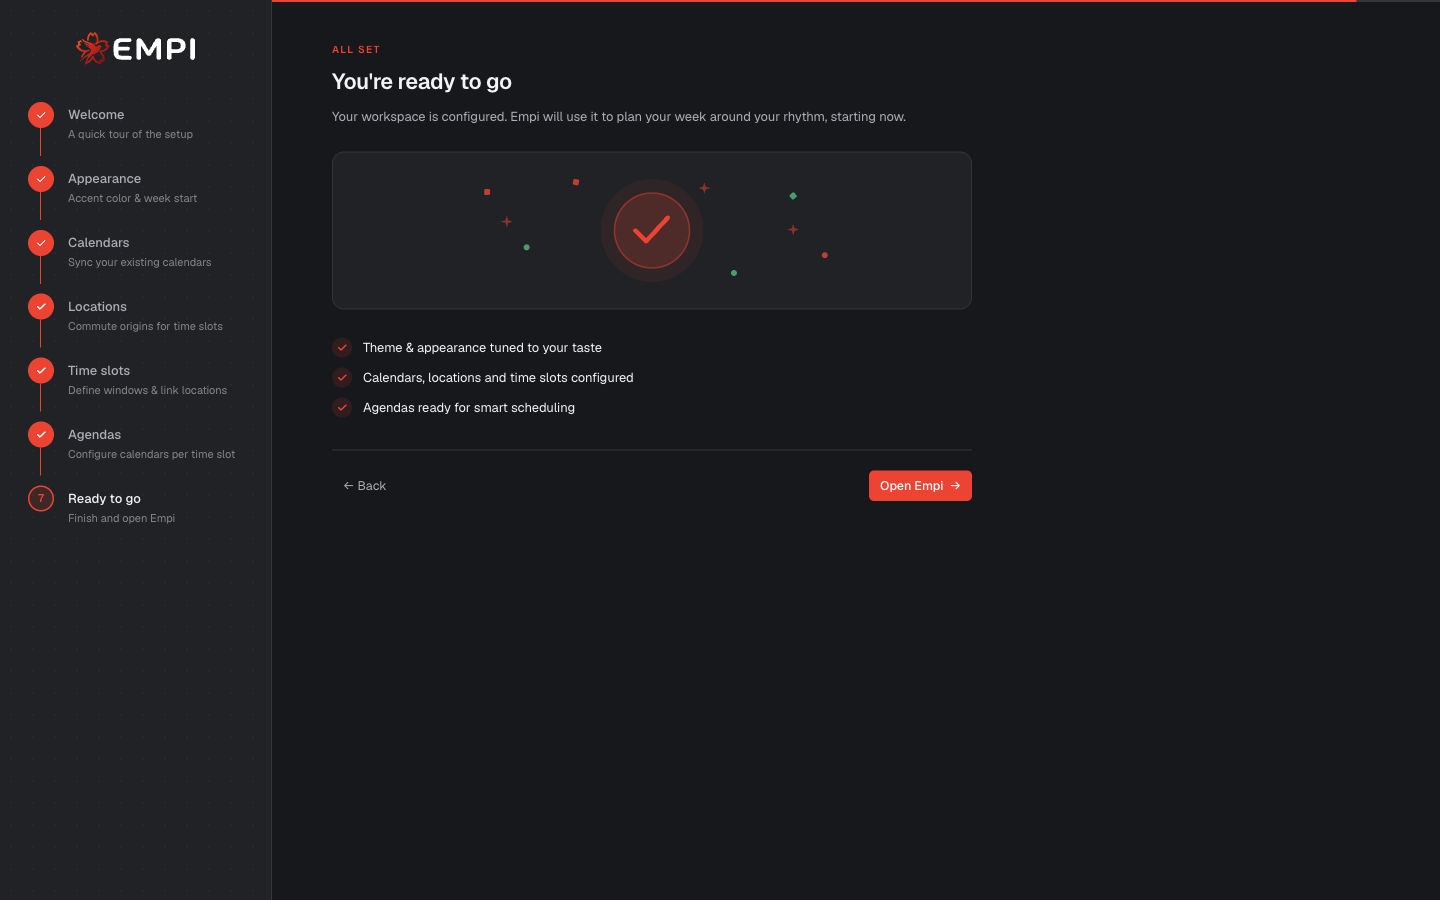
A recap of what you configured. Open Empi finishes the setup and drops you into Today.
What happens next
The product tour
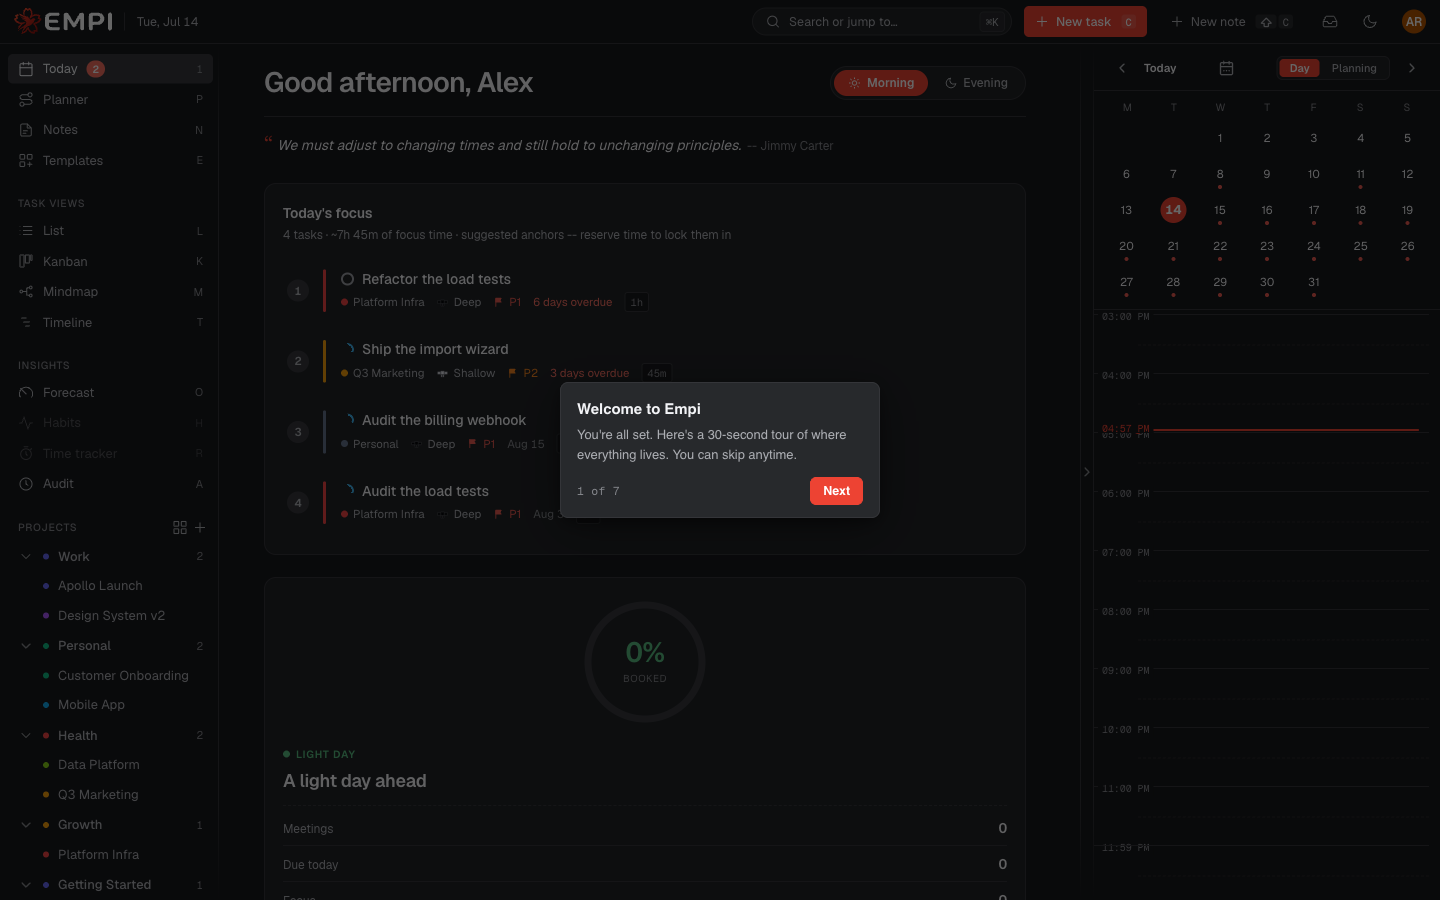
A seven-step walkthrough starts on top of the real app, pointing at the real controls:
- Welcome to Empi
- Your daily command center: Today, its routines and its stats.
- Same tasks, your way: the list, board, timeline and mindmap views.
- Capture anything: adding a task, and the C shortcut.
- Your day, time-blocked: the calendar rail with meetings, commutes and reserved focus time.
- Settings live here: the account menu.
- Start here: your onboarding tasks.
You can skip it at any point, and re-run it later from the account menu with Take the tour.
Your onboarding lessons
Empi seeds a real task called Empi onboarding into your task list, with six short lessons as its subtasks. Each one teaches a concept by having you do it, and points at the next:
- How Empi is different
- Your calendar and how Empi schedules
- Routines, the rhythm Empi plans around
- Areas, projects and agendas
- A task, hands-on
- Notes vs tasks
They are ordinary tasks: they sit in your list, you open them, you tick them off at your own pace. Delete them when you are done with them.
Tip
If you would rather learn the model in one sitting than lesson by lesson, read Core concepts.