Create your account
Empi runs in your browser at use.empiapp.com. You need an account before anything else. It takes a minute.
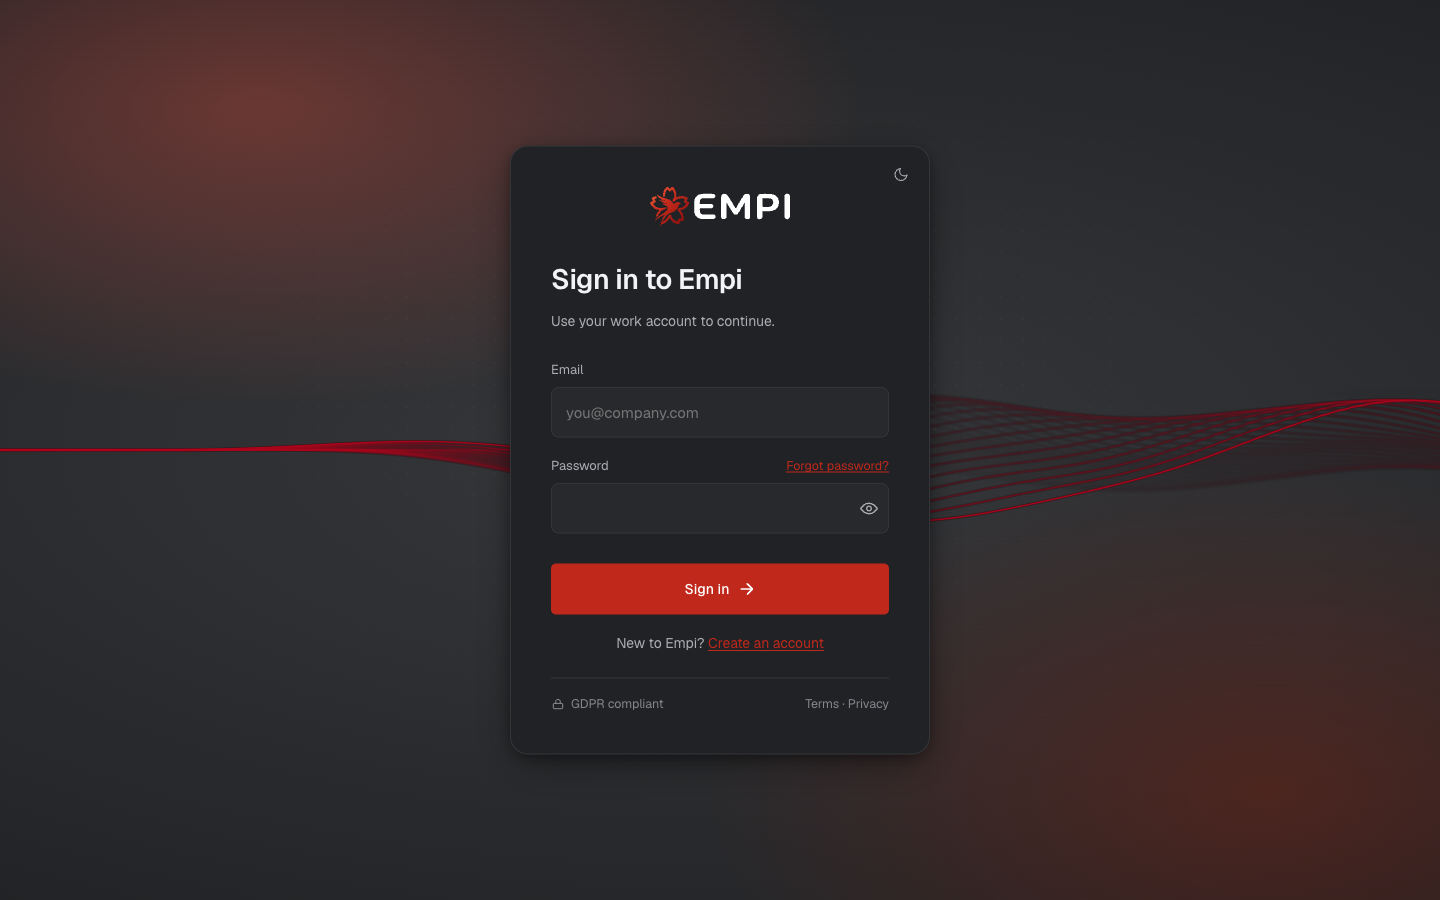
Sign in
Two ways in, both on the same screen:
- Email and password. Enter your email and password, then Sign in.
- Single sign-on. Continue with Google or with Microsoft. If you already use one of them for your calendar, this is the shortcut: no password to remember.
Either way you land in the app. The method you choose the first time is the one you keep using.
Create an account
On the sign-in screen, follow New to Empi? Create an account. Give your name, your email and a password, or use Google or Microsoft SSO instead. Empi emails you a verification code: enter it and your account is live.
Creating an account also creates your workspace, and drops you straight into the setup wizard.
What a workspace is
A workspace is the container for everything you put into Empi: your tasks, notes, areas, projects, connected calendars, time slots and settings. It is yours and it is isolated. Nothing you create is visible outside it.
Your plan (Free or Pro) applies to the workspace, not to a single view or device. Sign in from a laptop, a second browser or the mobile app and you see the same workspace.
Passwords
Forgot yours? Use Forgot password? on the sign-in screen. Empi emails you a reset code, you enter it and choose a new password.
To change a password you still remember, go to Settings and use Account and data. SSO accounts have no Empi password to change: manage it with Google or Microsoft.
Signing out
Open the account menu from your avatar in the top right and choose Disconnect. The same menu is where you re-run the product tour and open your preferences.
Next
The setup wizard walks you through the seven steps that make the planner useful: appearance, calendars, locations, time slots and agendas.